
![]() Zip How Do I Change My Zip Filter?
Zip How Do I Change My Zip Filter?
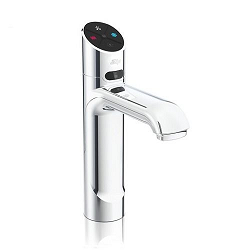
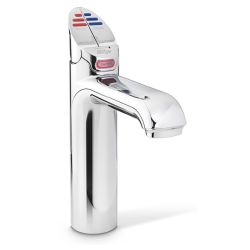
Your Zip HydroTap monitors your usage and will let you know when the filter needs replacing. The change filter light will flash white at a rate of once per minute until the filter is changed. Your filter percentage will also display as 0% on your home screen.
Below we have a video from Zip, A written version and downloadable/printable checklist.
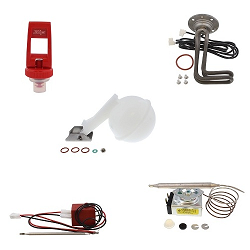
| Step 1: Grab an empty bucket or container to collect the water which will be flushed through the system and an old towel to mop up any spills. | |
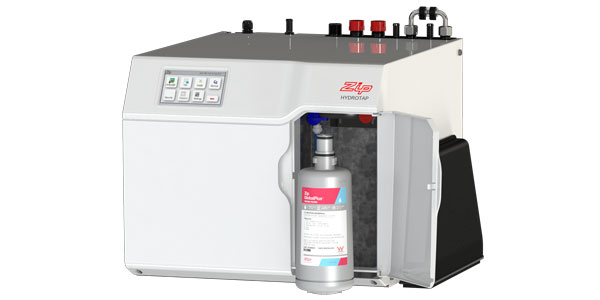
 | Step 2: Open the filter access door on the front of the HydroTap Command Centre. You will see the filter cartridge in front of you. |
| Step 3: Reach to the rear right hand side of the cartridge and you’ll find a flush line (looks like a hose) which is around 60cm long which will be sealed with a stop cock located in the centre of the hose. Place the free end of the flush line into the empty bucket or container. Turn the stop cock quickly on then off to relieve system pressure. | |
 |  |
| Step 4: Gently hold the filter cartridge then press the red lever at the top right of the unit and rotate the cartridge a quarter turn to the left. The unit should detach and you should be able to pull it free in a downwards motion. Some water may drip from the cartridge at this point. Be sure to keep the cartridge level to avoid spills. |  |
| Step 5: Place spent cartridge in the sink or another suitable container. | |
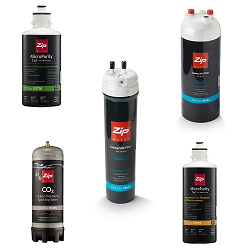
 | Step 6: Unpack your replacement cartridge and remove the sanitary cap. Write today’s date where shown on the label. Ensure you avoid touching the O-rings or filter opening as this can cause bacterial contamination of the cartridge. |
| Step 7: Slightly moisten the O-rings with regular tap water and line up the front cartridge label to the left. | 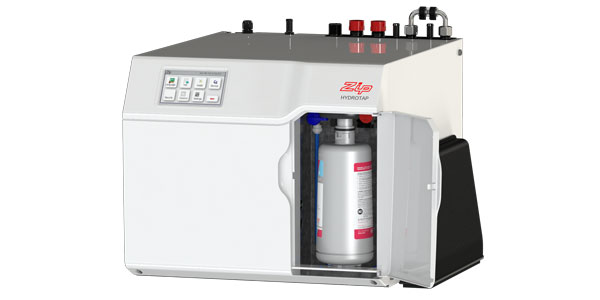 |
 | Step 8: Gently but firmly push the cartridge up into the filter head and turn a quarter-turn to the right – as far as it will go without forcing it. The cartridge should now be locked in position with the front label facing forward. |
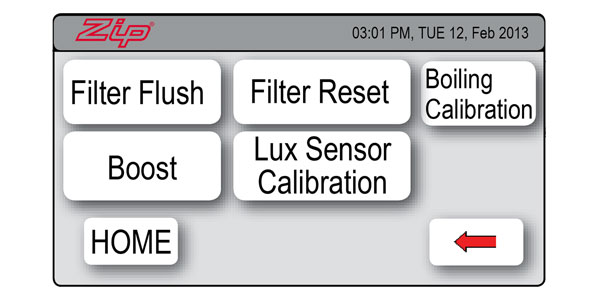
| Step 9: Press the [MENU] button to bring up the main menu on the screen. | 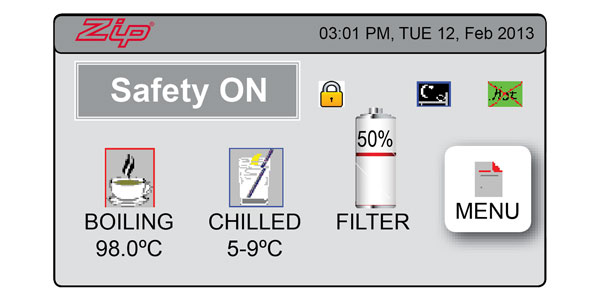 |
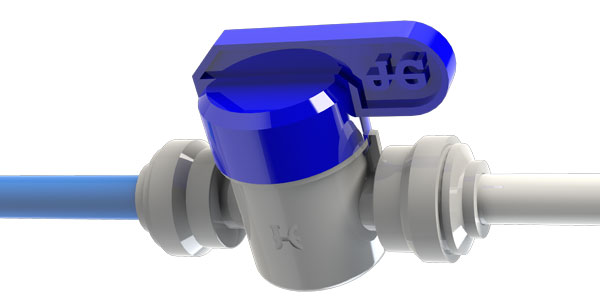 | Step 10: Press the [Install] button and turn the stop valve ON by rotating the lever clockwise until it is in line with the hose. |
| Step 11: Press the [Filter Flush] button then press [Start] to begin the process. Ensure you run at least 10-litres of water through to flush the filter of excess black carbon particles. | |
 |  |
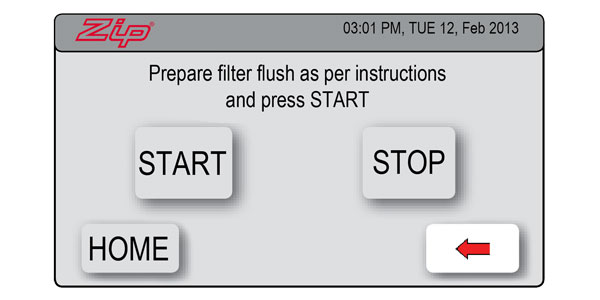
| Step 12: When the filter flush is finished, turn the stock valve OFF by rotating the lever anti-clockwise until it is perpendicular to the hose. |  |
| Step 13: Press [Stop] to end the filter flush process. | |
Step 14: Press the [Home] button to return to the home screen.
|  |
Step 15: Dispose of used cartridge and packaging thoughtfully. | |
Downloadable
| Downloadable Instructions | Checklist |